To upload images, you need first to have created an image content area (see How do I add/manage content areas?).
Next, ensure you have edit access and are in edit mode, by clicking the edit mode action button (pencil symbol) from within the item action bar.
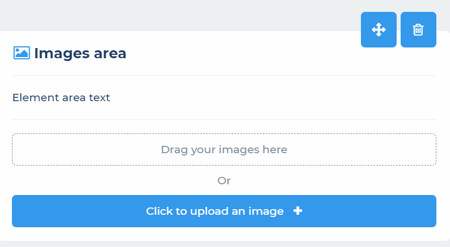
You can now upload files to a file upload area: as denoted by the tag in the top left of the content area.
You will see a "Drag your images here" area and an “Upload an image +” button at the bottom of image content areas. Either drop files onto the "Drag your images here" area, you can drop multiple files at once. Or, alternatively, click on the “Upload an image +” button to open your file browser window. Selected files will now be uploaded to this content area. Note: there is a file size limit for uploaded files of 50Mb.
In edit mode, previously uploaded images can be moved by dragging/dropping on the move icon or deleted by clicking on the delete action button (Trash can) on the top right of the image. Please note: there is no confirmatory check on this action so take care in doing so. Images can also be dragged to reorder them.