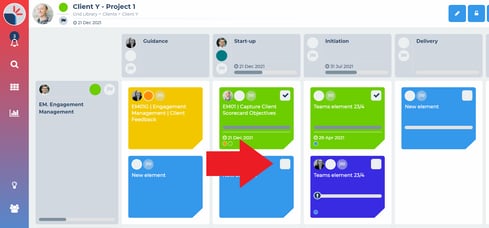
How do I add an element to a grid?
All platform members can add an element to a grid (even if this is just within their own private grids in their own private folder area - for user and external member types).
Configurable access control will determine who has the access permission to add an element to a grid in the main grid library; see What is configurable access control?
Within the grid you want to add an element to, ensure you are in edit mode: by clicking on the edit mode action button from within the grid action bar. Next, in the appropriate cell location (i.e. intersection of stage and theme) click “Add element +”.
This will open-up the new element in an element builder window (initially with a blank element).
You can start the process of building this new element by clicking inline on the “New element” title and re-naming it.
To start adding element content areas – and actual content – you can now either:
- Start this process from scratch: see How do I add/manage content areas within an element?;
- Reference an existing element: see How do I start building an element from an existing element?; or
- Reference an element template: see How do I start building an element from a template?
There are three different types of elements, element to be completed, element with tasks to complete, information only element.
When an element is first created it will default to an element to be completed, this means there will be a tick box available on the element to be checked off once the element has been completed;

If tasks are added to the element, this tick box will automatically be checked once all the tasks within the element have been completed.
If the element does not need to be completed you can use the information only toggle behind the element information button to remove the completion tick box;
All changes made to your new element are automatically saved.